After custom objects have been created, instances of the objects can be managed through the custom objects tab on the navigation bar located right after the Tasks tab.

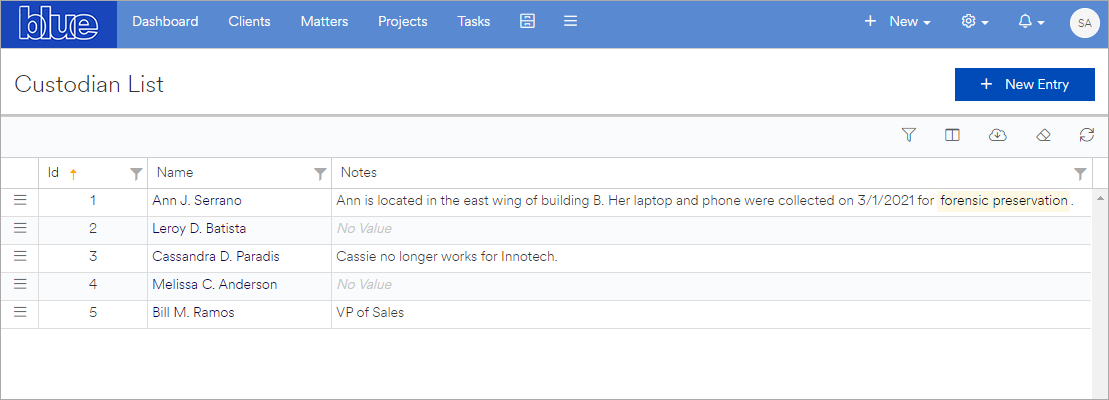
Click on the custom object list item that you wish to manage to go to that object's list page.
The custom object's list page is similar to the system object list pages. The grid view lists out each instance of the object and will allow you to sort, filter, manage column visibility, re-order columns, and export visible data to an Excel spreadsheet. Altering any characteristics of the grid is "sticky" to you, meaning that filtering or changing the column visibility and order does not affect what other users will see, and the state of the grid persists when you leave the page and return.
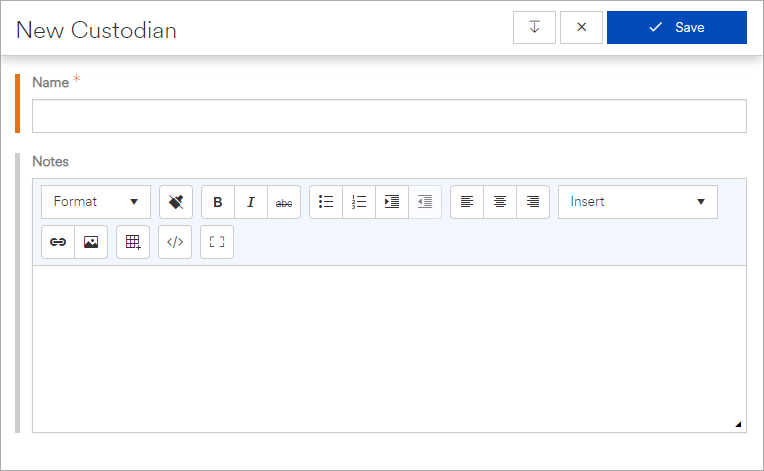
To create a new instance of your custom object, click on the New Entry button. To follow our previous example of creating a custodian object, our new custodian form would look like this:

Your custom objects will contain the fields that were defined when creating the object. Required fields will be indicated with an orange asterisk next to the field label and an orange bar to the left of the field. Optional fields are indicated with a light gray bar.
You can manage the entries in the list by clicking on the corresponding record's context menu (the icon with 3 vertical lines at the far left of each record). This menu allows you to view, edit, or delete the entry.

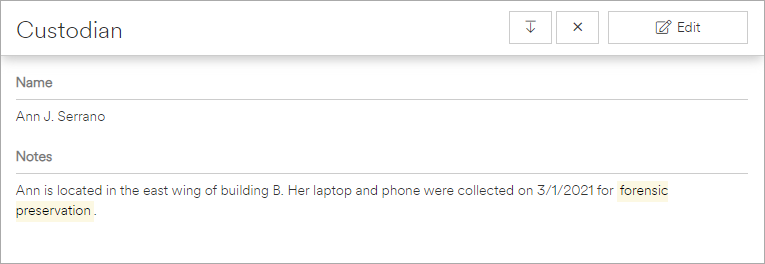
In our custodian example, we previously defined the Name field to be marked as the Reference Link. As a result, each name in our list of custodians is rendered as a hyperlink that allows you to view a read-only version of the record.

The record can be edited by clicking on the Edit button on the window's title bar.